GA4 Setup Made Easy: Code + WordPress Integration Guide
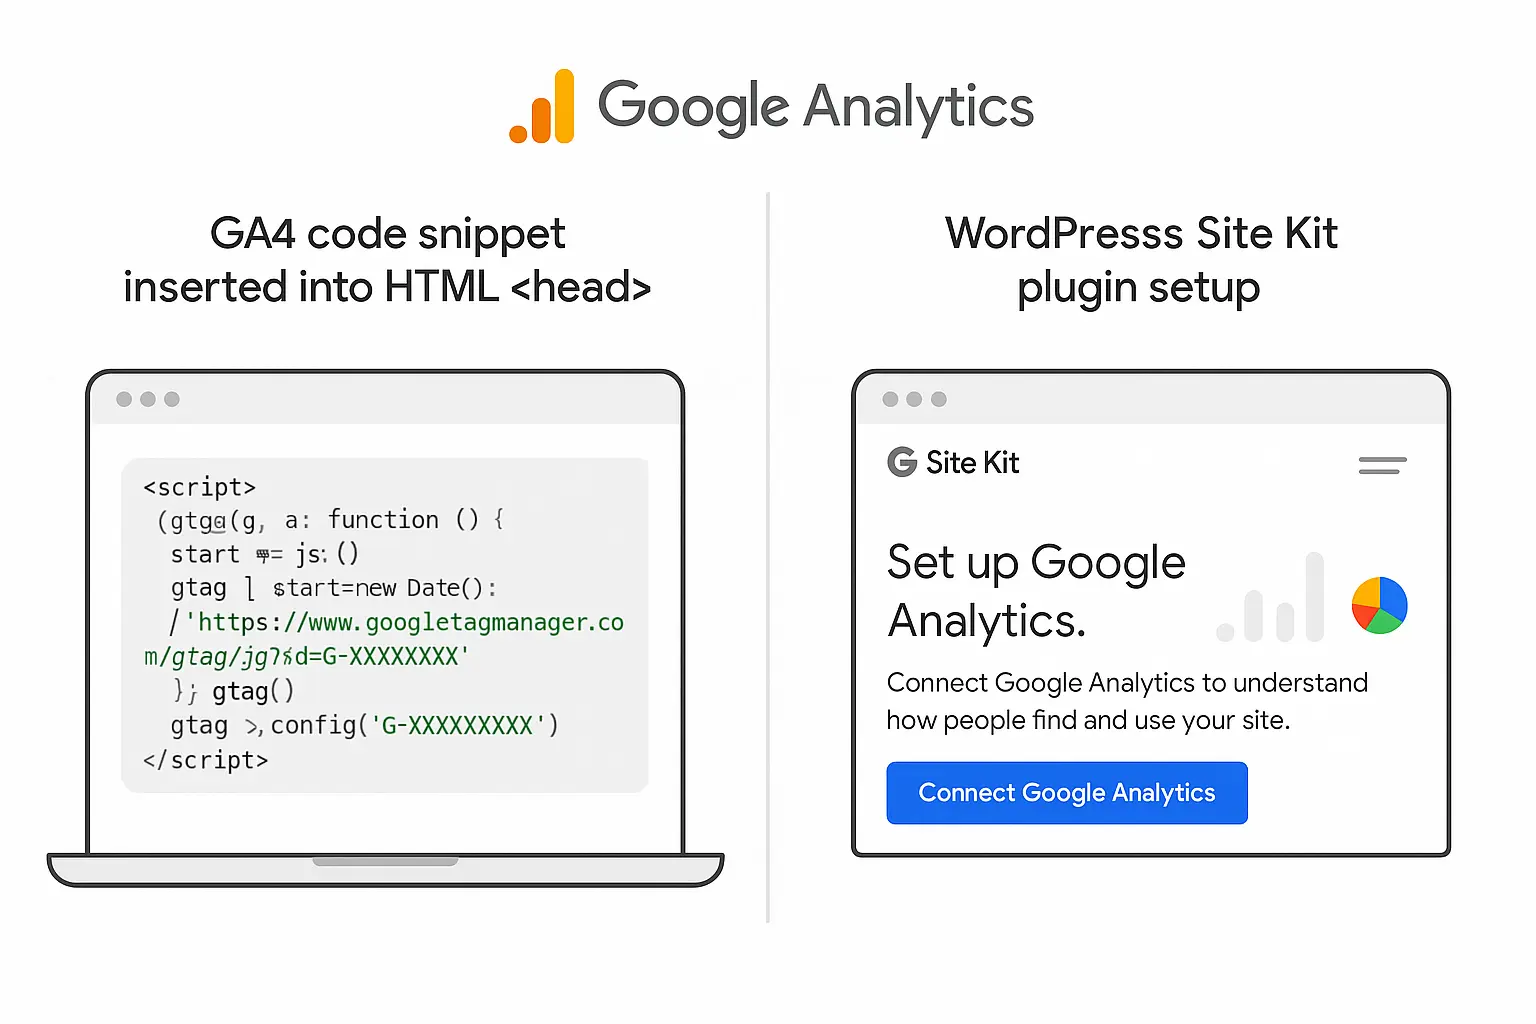
Once you’ve created your Google Analytics 4 (GA4) property, the next step is connecting it to your website — so Google can start tracking real visitor data. The setup process depends on how your site is built: whether it’s coded manually or created using WordPress. The good news? It’s simple. You can start tracking traffic, engagement, and conversions within minutes — without needing advanced technical skills.
In this guide, we’ll cover both methods: how to add GA4 manually (by code) and how to integrate it easily in WordPress.
What You’ll Need Before Starting
Before installing GA4, make sure you have: Why we need this
- A Google Analytics 4 property created → analytics.google.com
- Your GA4 Measurement ID (looks like: G-XXXXXXXXXX)
- Access to your website files or admin panel
Find Your GA4 Measurement ID
This ID connects your website to your GA4 property.
To find it:
- Log in to Google Analytics
- Click Admin (⚙️) → Under Property, select Data Streams.
- Choose your Web data stream.
- Copy your Measurement ID (format: G-XXXXXXXXXX).
- You’ll need this in the next step.
Part 1: Add GA4 Code to a Website Developed by Code (HTML, PHP, Laravel, etc.)
If your website is built manually (not using a CMS like WordPress), you’ll need to insert the GA4 tracking script directly into your site’s code.
Step-by-Step (Manual Code Integration)
- Go to your GA4 Web Data Stream → Click “View Tag Instructions.”
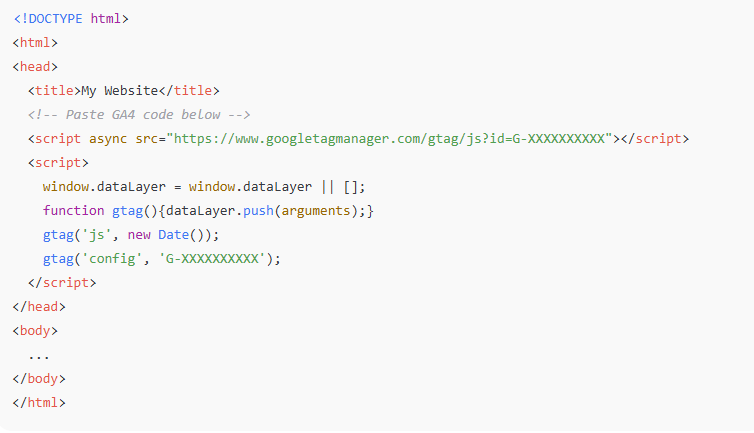
- Under “Install manually,” copy the global site tag (gtag.js) code.
It looks like this:

Where to Add the Code
- Paste this code inside the <head> section of every page you want to track.
- Ideally, insert it right before the closing </head> tag.
Example (HTML file):
For PHP-based websites (like Laravel or CodeIgniter):
Add the GA4 script in your common header layout file, for example:
- Laravel: resources/views/layouts/app.blade.php
- CodeIgniter: application/views/header.php
This way, it loads automatically on all pages.
Verify Your Installation
- Open your website in a new tab.
- Go to Google Analytics → Admin → Data Streams → Web Stream Details.
- Click “Realtime” in GA4.
- If you see your visit appear, the setup is working perfectly!
Part 2: Add GA4 to a WordPress Website (No Code Needed)
If your site runs on WordPress, you can add GA4 in two easy ways — manually or with a plugin.
Option 1: Using a Plugin (Recommended for Beginners)
Plugin Option A: Site Kit by Google (Official Plugin)
This is the simplest and most reliable method.
Steps:
- In WordPress dashboard → Go to Plugins → Add New.
- Search for “Site Kit by Google.”
- Click Install → Activate.
- Click Start Setup → Sign in with your Google account.
- Connect Google Analytics, Search Console, and other Google tools.
GA4 will automatically connect and start tracking data.
You can also view Analytics reports directly inside your WordPress dashboard.
Plugin Option B: Insert Headers and Footers Plugin
If you prefer to add the code manually through WordPress:
- Install the plugin “Insert Headers and Footers by WPBeginner.”
- Go to Settings → Insert Headers and Footers.
- Paste your GA4 gtag.js script inside the Header Scripts box.
- Click Save Changes.
That’s it! The tracking code is now added across your entire site.
Option 2: Manually Adding Code in WordPress Theme
For developers or custom themes:
- Go to Appearance → Theme File Editor.
- Open the header.php file.
- Paste the GA4 script just before </head>.
- Click Update File.
Note: If you change or update your theme later, you’ll need to reinsert this code.
How to Check If GA4 is Working
Once installed, verify the setup:
Method 1 — Real-Time Report
- Open your website in one browser tab.
- Open Google Analytics → Reports → Realtime in another tab.
- You should see your current visit appear.
Method 2 — Chrome Extension
Install Tag Assistant (by Google) Chrome extension → open your website → check if your GA4 tag fires correctly.
What You Can Do Next
After setup, you can:
- Track traffic, engagement, and user paths.
- Monitor which pages bring the most visitors.
- See real-time visitor count and locations.
- Create custom events like “form submission” or “button click.”
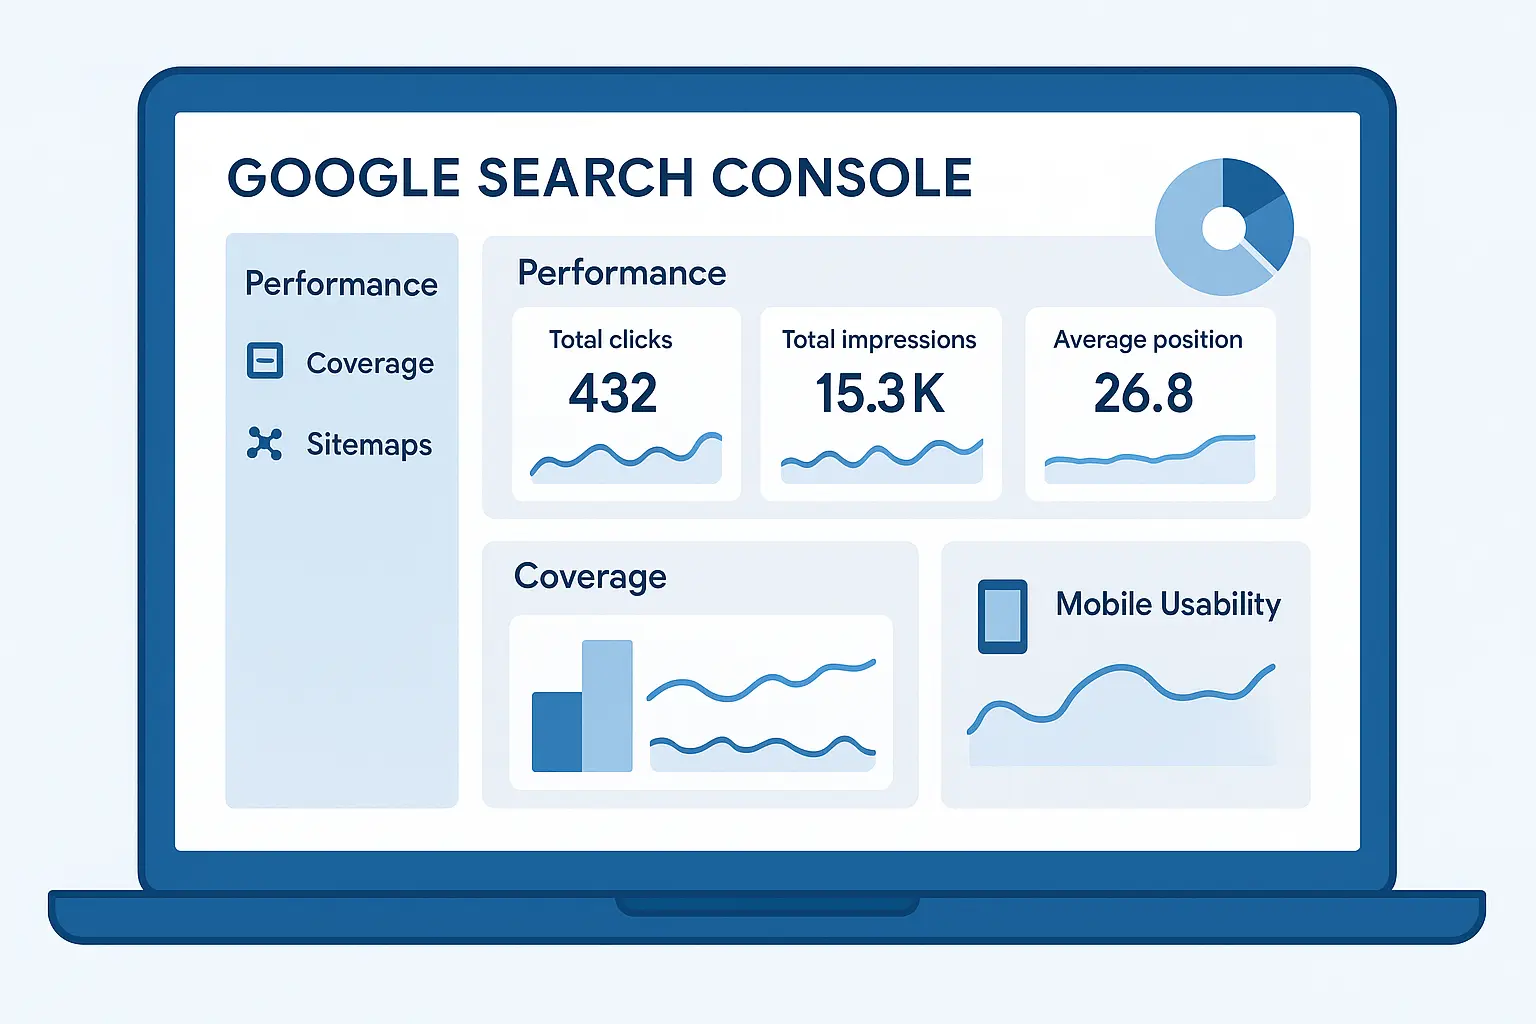
- Link GA4 with Google Search Console and Google Ads for deeper marketing insights.
Conclusion
Adding Google Analytics 4 (GA4) to your website takes just a few minutes — and opens the door to powerful insights. If your site is custom-built, add the GA4 tag in your <head> section. If you use WordPress, the Site Kit plugin makes it effortless. Once set up, you’ll see how users interact with your content in real-time.
Start today — even if your site is new.
The earlier you track, the faster you’ll learn what works.
Already installed GA4? Share your experience with #TrackSmart #GA4Beginner!


No comments yet. Be the first to comment!